Le Jardin has got really amazing food, and this is from someone who's very picky with what she eats. I'm happy to be healed already from my eating disability (I just had to reset my food a bit and gradually introduce normal eating pattern) so I was able to eat my food. We learned a lot of new hairstyles from Lourd Ramos, CEO and Creative Director of Creations by Lourd Ramos Salon.

These hairstyles were super easy to do and very wearable both by kids and adults. Most of them were braids, which, according to Lourd, are very in this season (and I think also last year). Blame it probably on Hunger Games and Game of Thrones that I have probably seen braids in almost every wedding and editorial. But on a personal note, I like braids because they're neat but not too school marm pulled back and it's got that softness to your hair. It rescues my hair from bad hair days when it's frizzy and I need to look polished. Braids nowadays go beyond just schoolgirl plaits at the back or Dorothy pigtails. There are various ways to style the hair, and my favorite among what Lourd showed is the braided undercut.

I've actually had my share of this look though, at our second Stellar Summer Show where we were Jungle Cats. Here's a throwback photo for you:
 |
| The Jungle Cats |

Start with dry hair. Blow-dry it to rid it of frizz. If your hair is slick, use a seasalt spray to give it some grip or spray some volumizer for volume. You gonna need that for all those flips. Brush through for smoothness

Make a deep side part. I chose to make the part on the left side of my head because that's the side that I invert on and I want my inverting side to be neat.
Divide the hair on the left side into two. We would be making two rows of braids, like cornrows, French braid the top part tightly and as close to the scalp as possible. Braid all the way through and secure with a Goody Ouchless Elastic in a color of your choice.


Take out the elastic from the first braid and use it to fasten the final big braid at the nape of the neck.

You would have a ponytail like this. I changed the elastic to black since I wanted it to be almost invisible. You can choose a bright elastic to be like a statement color or a black one and just wrap it with a lock of hair if you don't want it seen.

At this point I was starting to sweat and my hair started to frizz from the humidity so I took a break and turned on the airconditioning and blow-dried the sweat away.
Time for some volume and style. I curled the bottom ponytail with a curling iron. I used my conical iron here because I wanted tight mermaid curls for this.


Break the curls with your fingers or a wide-toothed comb and arrange for volume! Volume! Volume! I can tame the strays with a bit of wax and hairspray and curl tinier sections of hair for tighter corkscrews.
So here's the finished product:


The look here, since I made two braids instead of one, is much edgier and funkier. I like this since it fits my personality a lot. I would wear this to work, to a pole performance, teaching a yoga class, or heck, even on a formal event. I personally want tighter braids because I want to make it look like a real undercut. Oh yes, and this look would enhance a jawline.
However, if someone would request a softer look, I can make the braid part looser and do big curls instead of these tight corkscrews for a more romantic look.
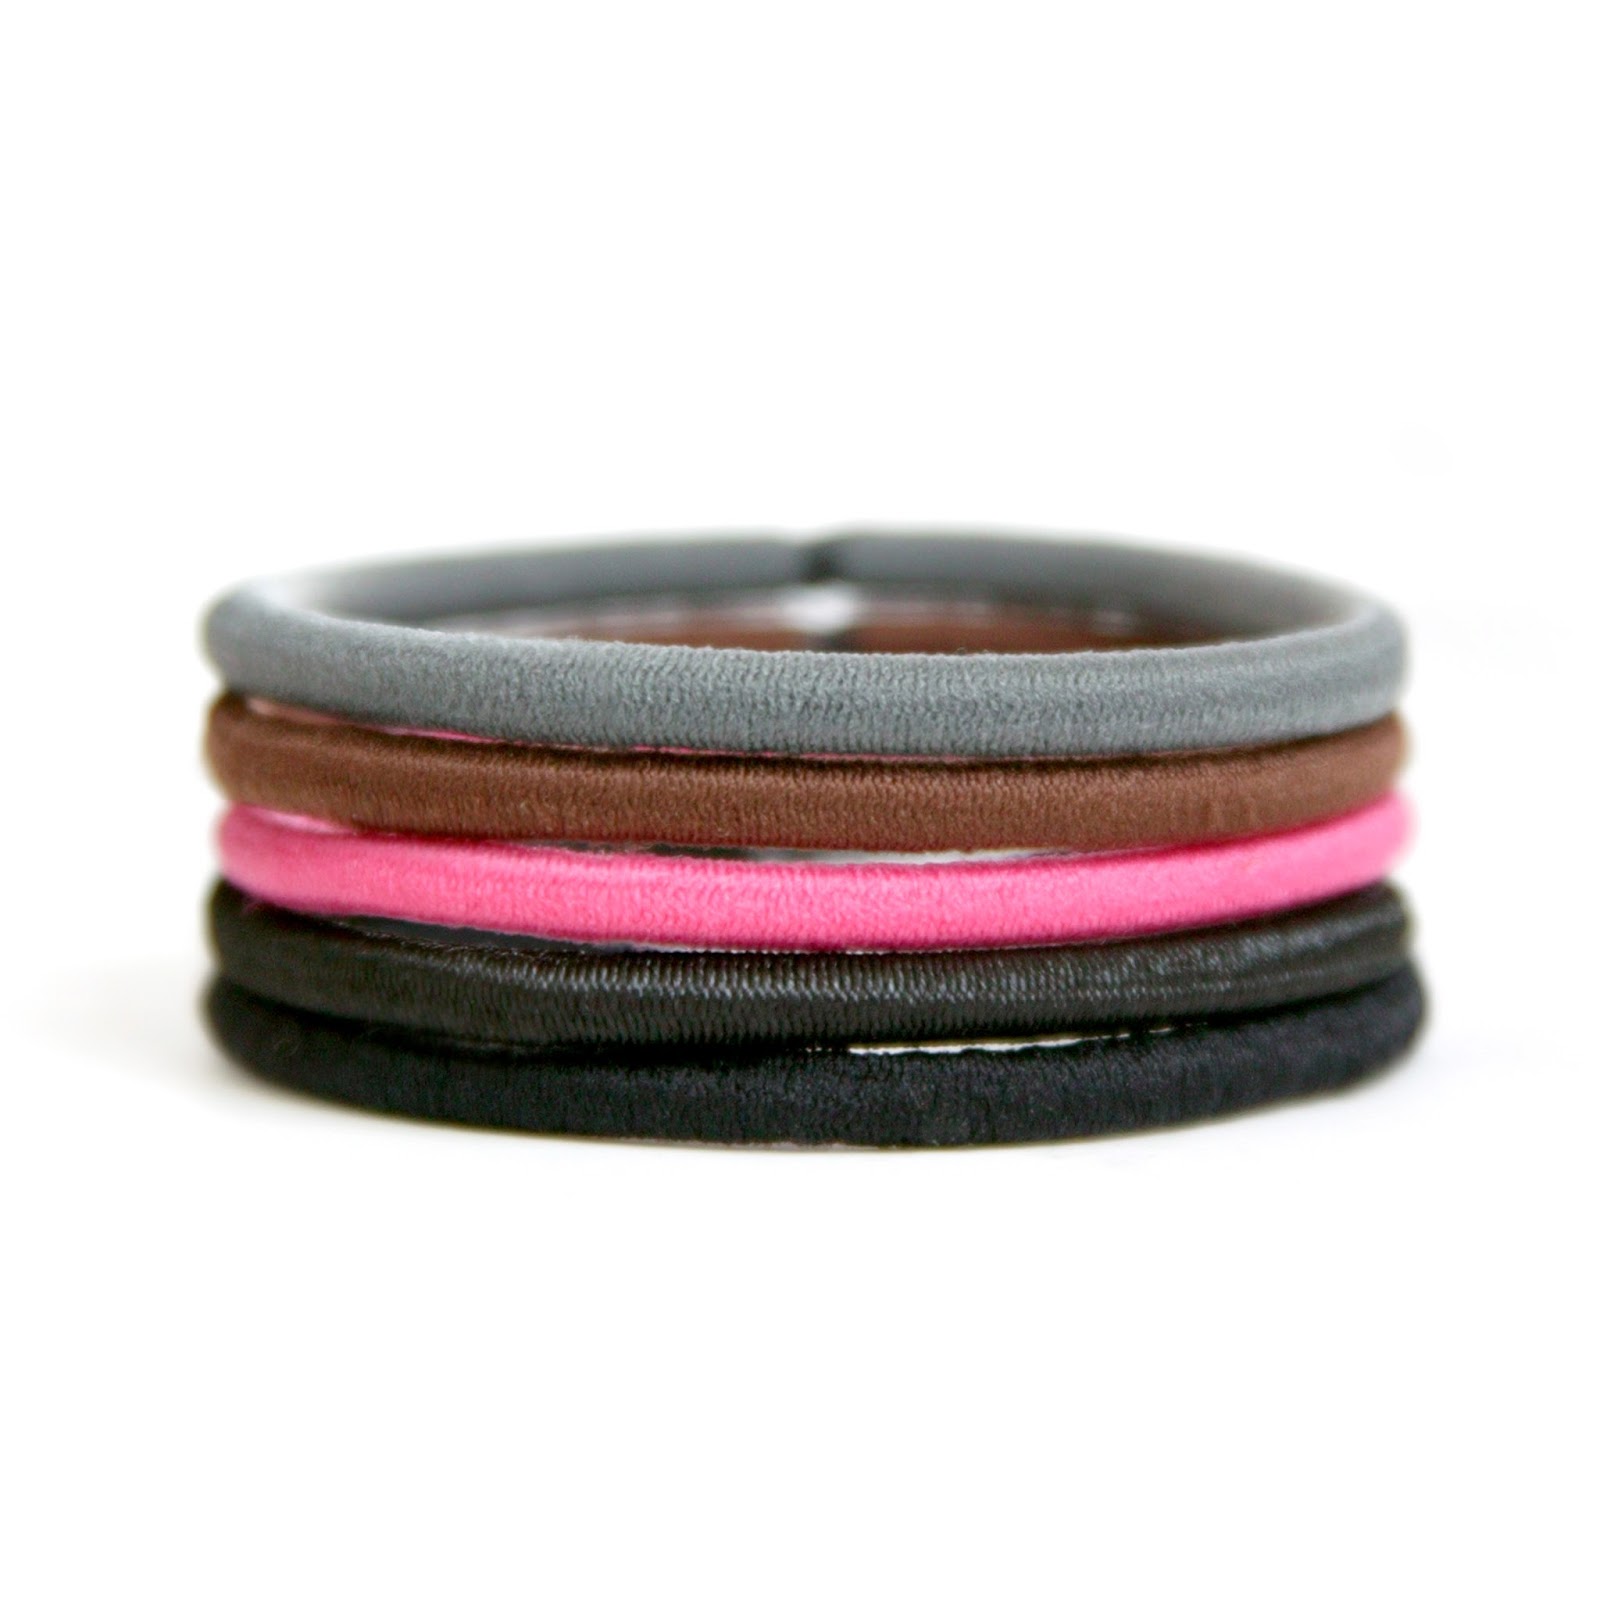
For tools I used Goody products such as these: the Ouchless purse brush and Goody Ouchless elastics. These elastics are super sturdy and wouldn't break or lose shape easily.

Goody hair ties are known for decades to keep my hair in place and since I'm using Ouchless products, they are not a pain to use or to remove.
The look can be made your own with different colors of hair ties and textures. Put extensions, straighten the hair, crimp it or wave it. The choice is yours!
Just for fun, here's what I used for my makeup:
concealer: Collection Cosmetics #3
powder foundation: MAC Studiofix NC35
Blush: MAC Stark Naked
Brows: Shu Uemura Hard 9 Formula in Walnut Brown
Liner: Urban Decay 24/7 Glide-On Pencil (Black)
Liquid Liner; NYX Ergonomic Eyeliner
Mascara: Maybelline Greatlash
Lipstick: Bobbi Brown Art Stick in Rose Brown
Goody products are available at all leading department stores and drug stores nationwide.
No comments:
Post a Comment